

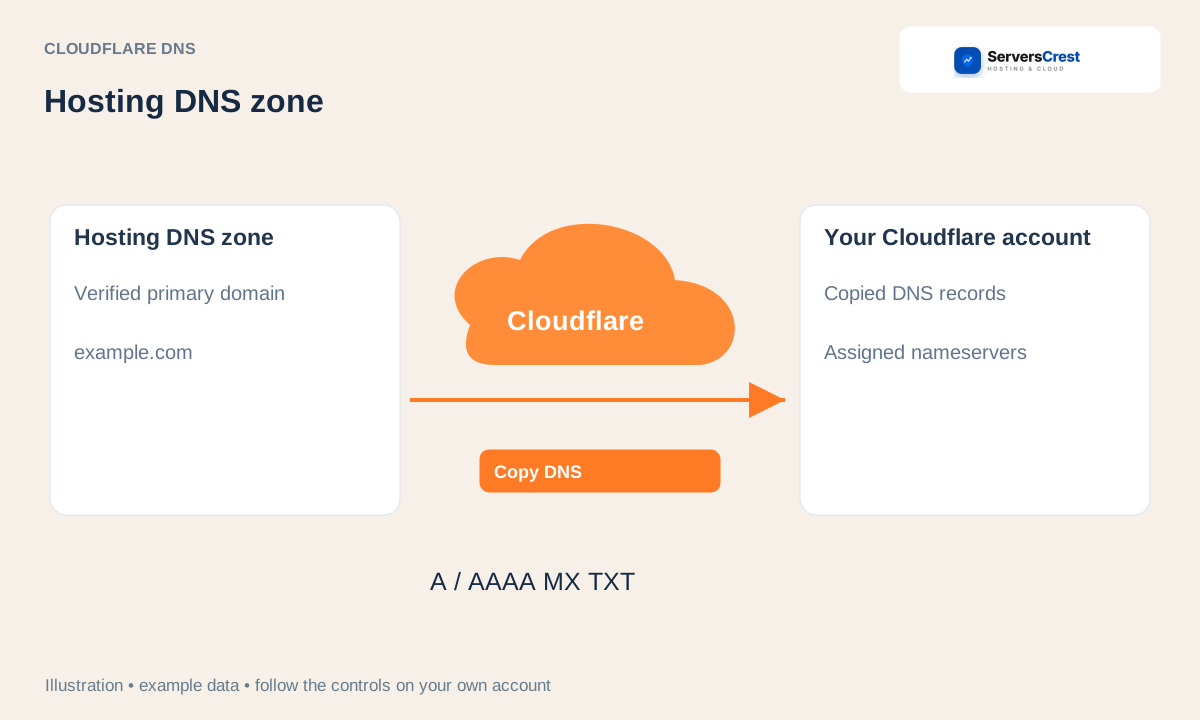
You can add your hosting domain to your own Cloudflare account from ServersCrest. We copy the supported DNS records from your hosting so you do not have to type each one yourself. Your website stays on your hosting account.
Open the hosting account for your domain
Sign in to ServersCrest and click My Services. Open the cPanel or DirectAdmin hosting account for the domain you want to connect. Check the domain name on the service page.
In Actions, or on the Cloudflare DNS card, click Add to Cloudflare. This connects the main domain of that hosting account. You cannot choose an addon domain in this connection.
Connect your Cloudflare account
Read the consent about copying DNS and changing nameservers. Tick the checkbox, then click Connect Cloudflare & add domain.
Cloudflare opens so you can sign in. If you do not have an account, create one there and complete the approval. You do not need to give ServersCrest your Cloudflare password.
After you return to ServersCrest, choose your Cloudflare account if a list appears. Read and tick the consent on that page, then click Add domain & copy DNS. Wait for the copy to finish.
Use the nameservers shown on the page
Once the records have copied successfully, read the Cloudflare nameservers displayed for your domain. Use those exact names, not the hosting IP address.
If you bought the domain through the same ServersCrest account, the module can request its nameserver change after the DNS checks pass. Follow the page result; if it offers Update domain nameservers, use that action for this domain.
If you bought the domain elsewhere, copy each Cloudflare nameserver. Sign in to that registrar, open the domain nameserver settings, replace the old nameservers with the copied names and save. You do not have to transfer the domain to ServersCrest.
Come back and check the connection
Click Check activation on ServersCrest. If it is still pending, check that the registrar saved the right nameservers, then allow time for the change to appear.
Open your website using its normal address and HTTPS. Also send and receive a test email if you use email on this domain. A working homepage alone does not show that email is working.
If the copy or nameserver change stops
Read the error beside the affected record before continuing. If it mentions a DNS conflict or DNSSEC and you are unsure what to change, send support the domain and that message. Do not delete DNS records to make a warning disappear. Cloudflare approval alone does not mean the nameserver change is complete.
Resync Cloudflare DNS after hosting changes · Change a registered domain's nameservers · Disconnect Cloudflare sync when moving hosting
Need help with this? Send us a ticket and tell us which page you reached and what happened.